

Welcome to Day 2 of Zipper Week! Today's project is a wet bag. They are perfect for cloth diapers, storing wet bathing suits, and keeping in your diaper bag in case your baby wets their clothes.
I made my first wet bag when my little one was 10 months. I was thinking about cloth diapering, but I never did. Over the summer I used the bag to store my kids wet bathing suit. As you can guess these bags are waterproof! Currently I am keeping one in my purse because my little one is potty training. Over the Christmas break she had an accident at our Grannie's house. I put her wet clothes in the bag for two days till we came back home and were able to wash them. It didn't leak and there was no pee smell either. I made this bag for my friend who uses cloth diapers and just had a sweet baby girl. It's way cheaper to make these than to buy them. They are usually $10-$20 online. At Joann's you can buy the PUL (polyurethane laminate ) for $10 a yard. I used my 40% off coupon. When I bought my PUL they only had solid colors, now they have all sorts of fun prints! You need a zipper and 1/2 a yard (or less) to make one bag.

As you can see one side of this material is shiny and looks a little like plastic. We will be using this as the inside of our bag.

I used my zipper as a guide to measure how wide I wanted my fabric. I also cut on the fold so I only had to sew the sides.

Lay the zipper facing down on the non-shiny side of the fabric.
This fabric is tricky to sew, I'm going to share some tricks with you. I used a heavy fabric needle, and I folded the fabric over so the plastic side was covered. The plastic side will stick to your machine, and is hard to pull through. Remember to change to your zipper foot.

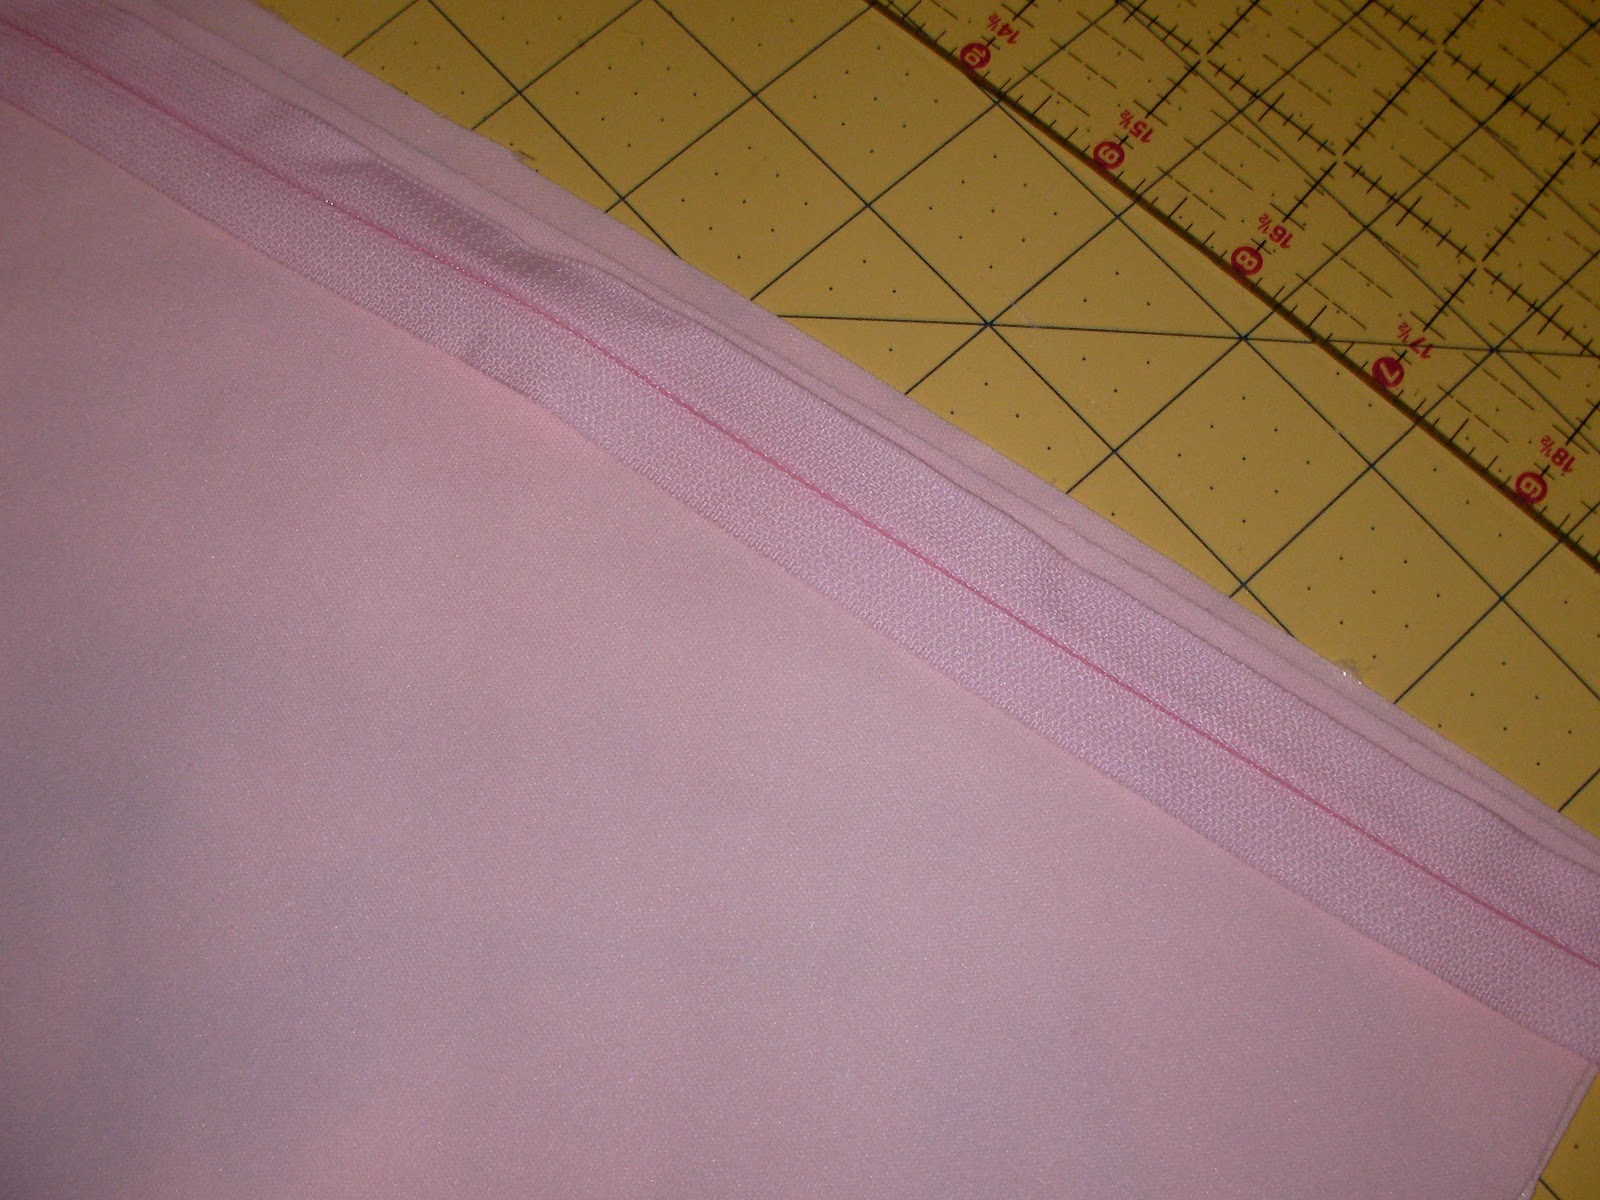
Do the same thing on the other side, and remember to fold the material over a little.

When you're done with that part flip it over and it will look like this.

You can take your zipper foot off of your machine now.
Since I cut on the fold I just have the sides left to sew. MAKE SURE your zipper is at least half open at this point so you can flip it inside out after you have sewn the sides. The material is still a little slippery, so make sure it's not moving while you sew. I also folded the material over for this part. I folded about a half inch. I started at the bottom remembering to back stitch, (we don't want any holes for liquid to escape from!) and when I got to the zipper I laid it flat and sewed right over it with no problem (again remember to back stitch).

This is what it will look like inside out. Make sure there are no holes. (The fabric may have slipped while you were sewing. Just stitch over the area if there are any holes.)

Flip it inside out and you're done! Ta-da!

Now you have a super handy wet bag, or a great baby gift!

Check back in tomorrow for Day 3 of Zipper Week!
This is very cool! I'll have to remember this when we start having kids. :)
ReplyDeleteI wish you lived closer so you could show me how to do this in person! :)
ReplyDelete