Wednesday, June 27, 2012

Easiest Pillow Covers


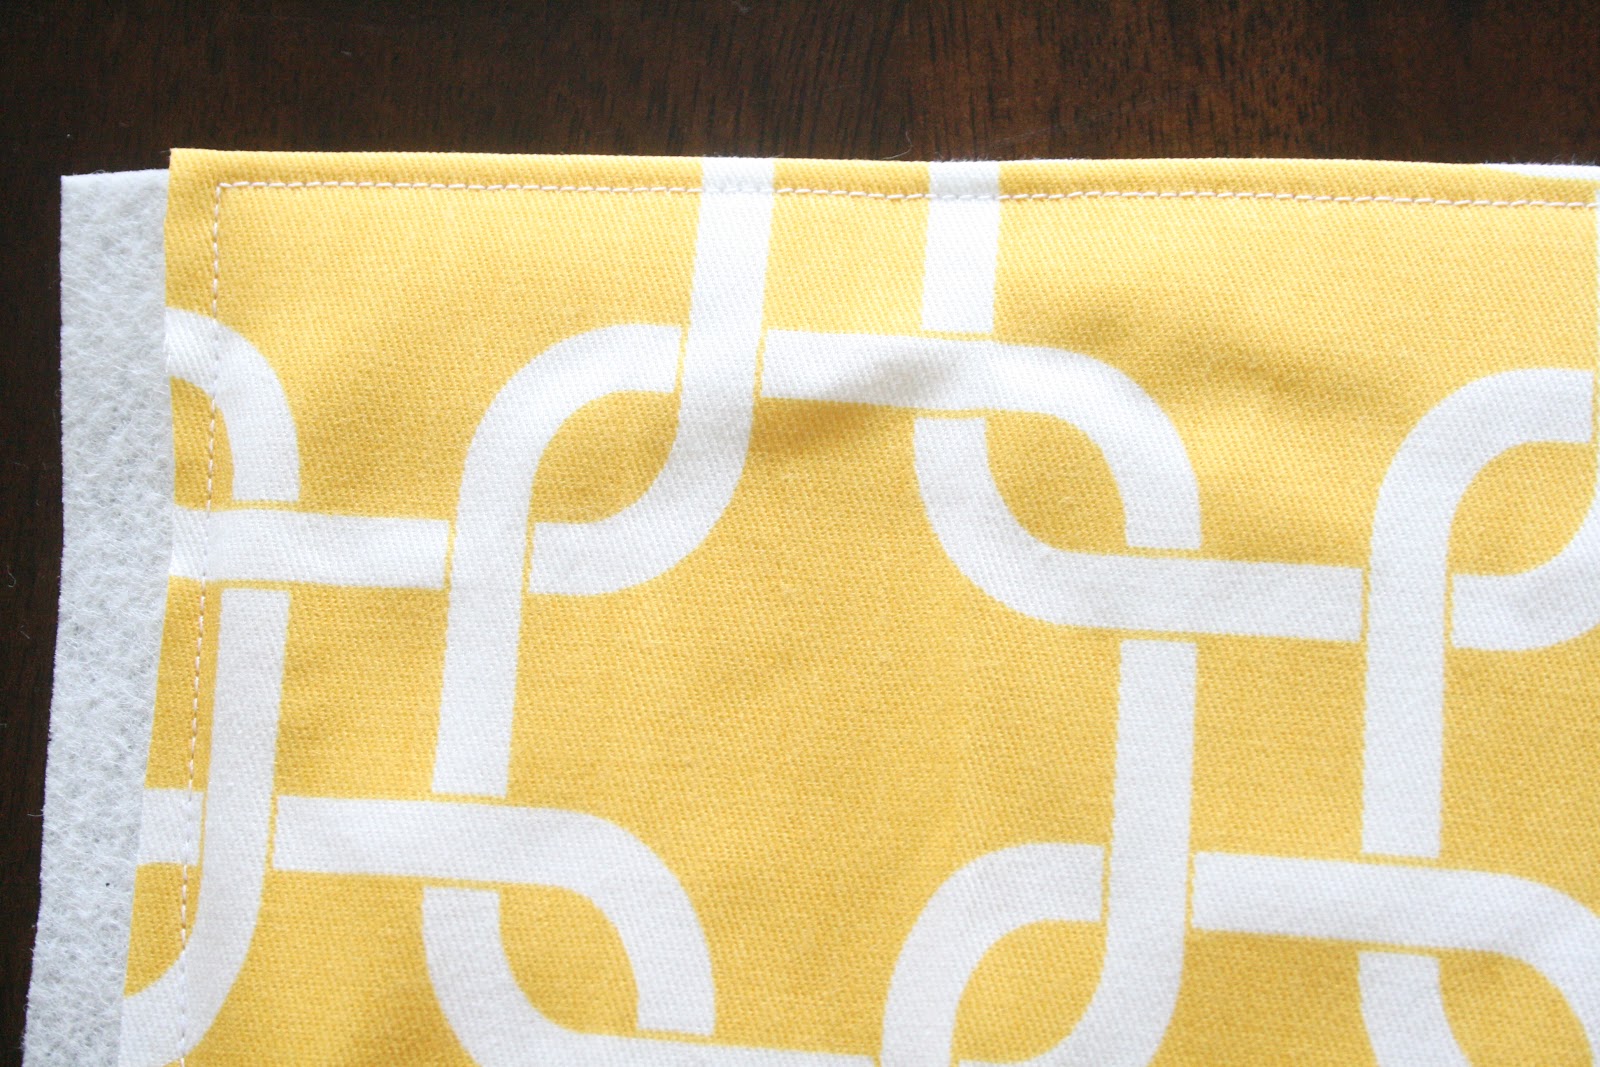
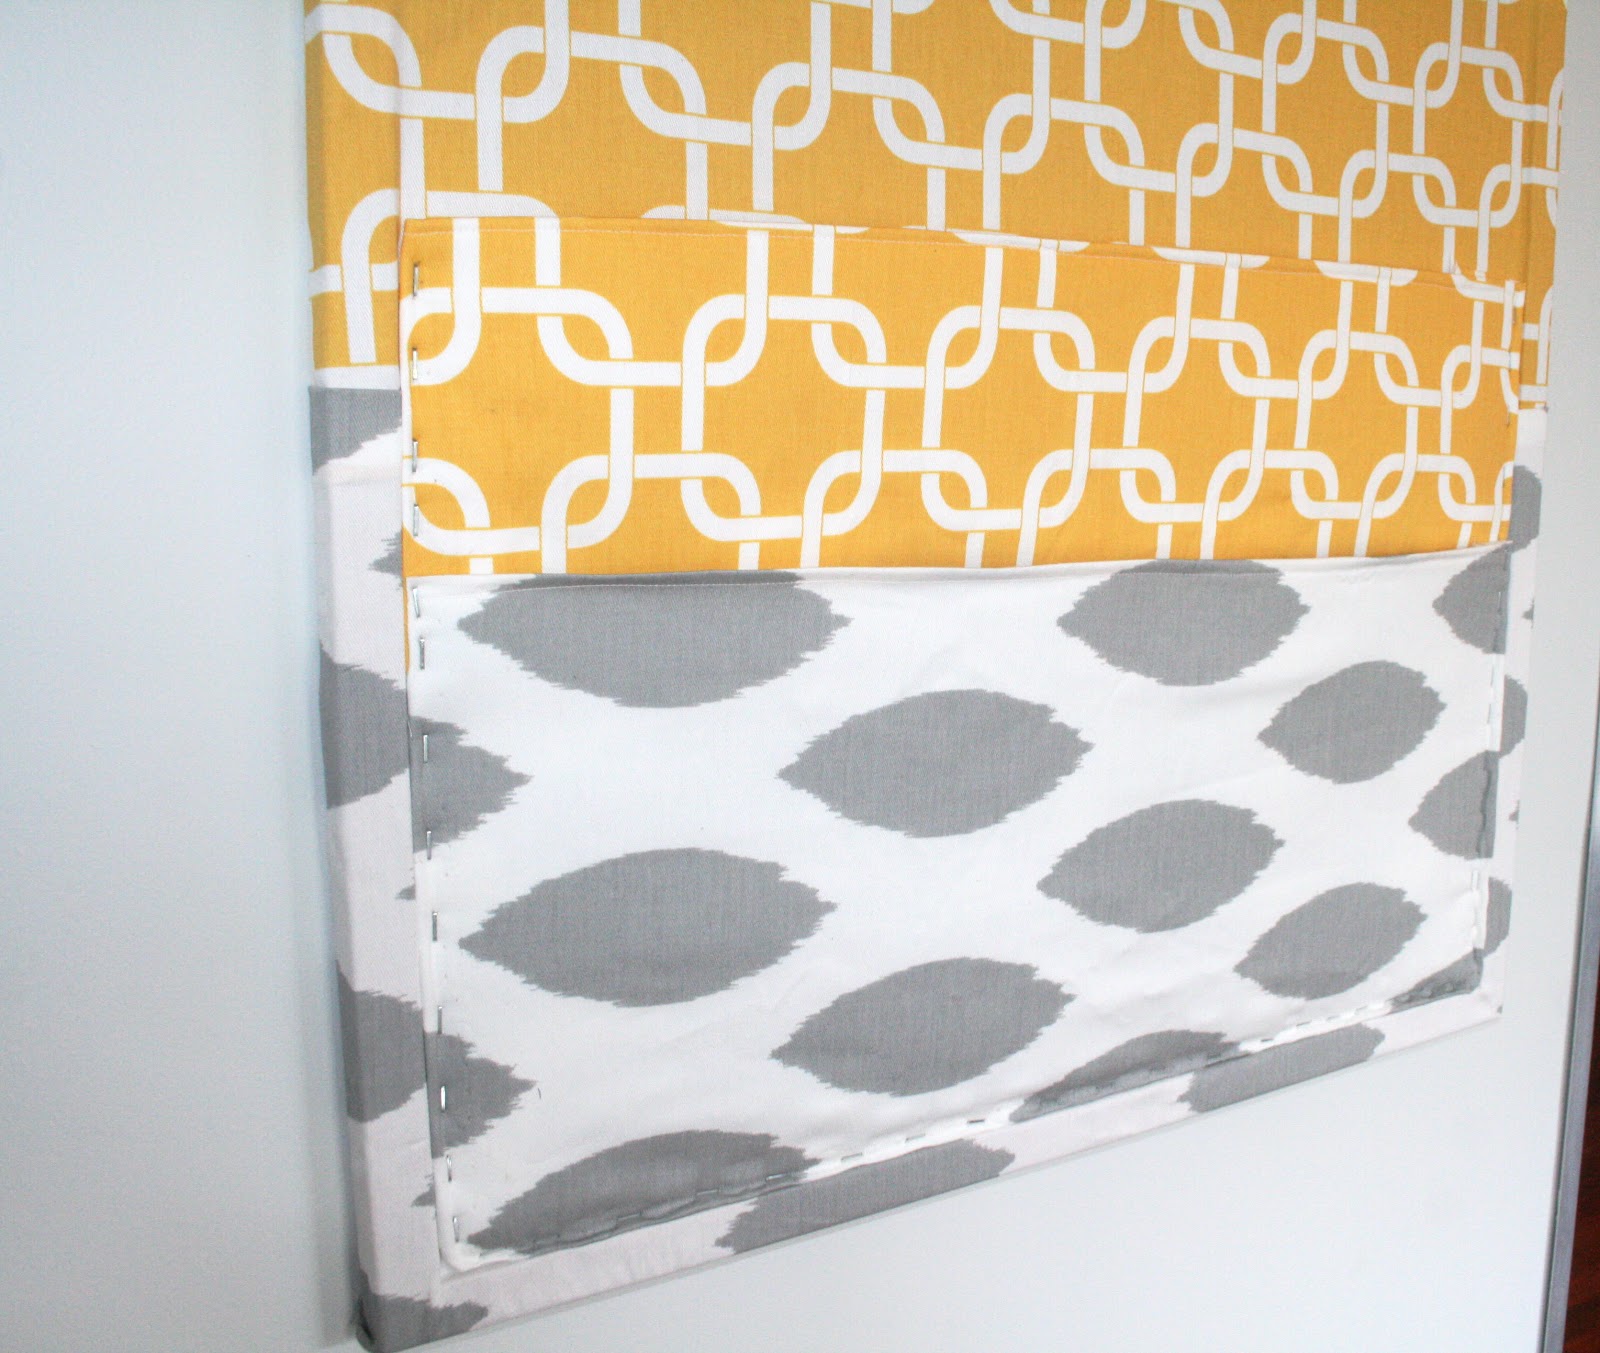
I made two throw pillows for my bed. I found this material at Wal-mart on sale for $2/ yard and $3/ yard. I bought half a yard of each. They were the perfect size for my pillows. I just folded the material over and sewed down both sides. Then I flipped the material the right side out and ironed it. 

Heat n Bond can be found at Joann's and Walmart

I hate hand stitching! So I used Heat n Bond to close the opening. I folded the edges under and ironed the heat n Bond down on one side, then pulled the paper off, folded over the other side, and ironed across the length of the pillow. It was easy and quick! 


This is a super easy and fast way to make pillow covers. It's perfect for these pillows that are just for decoration. This is one of the project I've done for our room makeover. I will be posting a few more projects, and then our room reveal. 


Wednesday, June 20, 2012

Cork Board Makeover


 My husband decided we needed an area to organize our mail and calendar events. I decided to makeover his ugly, boring cork board. I wanted to add two pockets for important mail. I used some material I had left over from recovering my couch pillows and some interfacing (for the pockets) to cover the board. You will also need a staple gun, sewing machine, and spray adhesive. 

 To make the pockets I folded over my material and cut out a piece of interfacing the same size. I made one pocket six inches deep and the other around 10 inches deep. I wanted to make two different sizes. You can add as many pockets as you want. I made it a few inches longer than the width of the board.
 I then sewed around the sides and at the top of the pocket. 
 Then I cut off the excess interfacing. When I attached the pockets to the board I folded the sides and bottom under and used a staple gun to attach them to the board. 
 To cover the board I used spray adhesive and three pieces of fabric. I would have used one piece of fabric if I had enough left over. First you need to spray the area that you will be placing your fabric on and also the sides. Place your fabric carefully on the board and smooth it out with your hands. 
 Turn the board around and spray under the material left over the top. Smooth down and repeat on the sides. 
 Then I did the same thing with the next piece of material; I just folded under the top an inch before attaching it. 
 Then I flipped my board over and attached the last piece of material. I let the board dry over night before attaching the pockets.  
I tried to use thumbtacks to hold the pockets in place but the material was too thick with the interfacing. It might work without it. I decided to use a staple gun to attach my pockets. I was going to cover it with some kind of ribbon, but I think it looks fine with out it. A little rustic or something? 

 I love the way it turned out; it was super easy! Now I just have to find my calender, unpacking never ends! 

Happy Crafting! 


Check out where I'm Linking up:

Monday, June 11, 2012

Lamp Refashion


I finally finished my beautiful lamp! Can you tell I love it? 
I originally got this idea from Freshly Picked, you can find Susan's post about it here. She made a beautiful chandelier to hang in her children's nautical themed bedroom. It's gorgeous! I decided I wanted to do the same thing, but with a standing lamp. Can you believe this lamp is made out of wax paper? Crazy huh! All I had to buy for this project was wax paper and spray paint. I painted the lamp black. I ironed three sheets of wax paper together at one time. Then I accordion folded the paper and punched out the circles. You can see Susan's blog for pictures of these steps. I decided to use eleven circles for each strand. 
The first thing I did was remove the fabric from my lamp shade and turn it upside down. I later attached a middle row with flower wire. I hot glued it to each metal piece so it wouldn't slide down. (Don't you love the messy background...okay, it's my sewing room and we were about to move. But really it always looked like that. The rest of the house was not such a mess, promise!) 
 I pulled my thread about 8 inches from my machine before I started sewing the circles together. I just placed one after another, it was really easy. I used the extra thread to double tie the strand to the lamp shade, then I clipped the excess. 

Here is that middle row of wire. 

I hot glued a piece of white bias tape to the top for a more finished look. I also covered the inner wire with bias tape. I should have spray painted the whole frame white first. Oh well.
This last picture is before I added the bias tape. I think it is so beautiful lit up! This project was VERY time consuming. I don't even know how long it took me. There are probably tons of different variations you can make. Even though it took forever it was worth it for me. 

Happy Crafting! 


Check out where I'm linking up:

Thursday, June 7, 2012

Pillows

 We moved and I finally put my new pillow covers on the couch, and I love them!!! I'm glad I decided to make them before moving, I forgot how long it takes to unpack everything! Geeze! I don't know if we will ever get anything up on the walls, it's so hard to stick a nail in walls you just had painted. I bought some command strips, hopefully that will solve my fear of ruining the walls. 

I used the zipper tutorial in this post to make the dandelion pillow. I decided to do an envelope back with the other pillows. I would have done all zippers but I didn't want to buy anymore. I just made up my own pattern for envelope back pillow covers, but you can check out a tutorial for them at freshly-picked.com. I wanted to be able to remove the covers in case of accident from the kids. 
I bought my material at Fabric.com. It is all $15 a yard material I bought on sale. I bought five yards for a little over $30, I think that's pretty good! I finally finished my lamp (in the corner) I love it! I will be posting a tutorial for it soon. 
Have a great day!!


shabby creek cottage


The Shabby Nest 
http://www.sixsistersstuff.com/


Friday, June 1, 2012

Three Easy Baby Shower Gifts


 I want to share some baby shower gifts I made for my friend a few weeks ago. I finally had my embroidery machine repaired, and I put it to good use! My friend named her baby Anna Grace, cute name huh?! I made her a passy strap from my tutorial found here.
 I embroidered a pair of bloomers, and added ruffles to another pair. You can find the technique I used for making the ruffles in this post. I used the perfect diaper cover tutorial from Made. I love this tutorial! I have made a ton of these for my daughter and for friends. It's a really easy tutorial to follow. I also made my favorite burp cloths. I cut out a piece of cotton fabric and a piece of terry cloth sewed them right sides facing each other (leave a 4 inch opening), then I flipped it inside out and top stitched around the top. They are super easy and a great project for beginners. It's also a great way to use your fabric scraps! 
Happy Sewing!


Check out where I'm Linking Up:


Sumo's Sweet StuffThe Shabby NestOne Artsy Mama


mop it up mondays