

I finally finished my beautiful lamp! Can you tell I love it?
I originally got this idea from Freshly Picked, you can find Susan's post about it here. She made a beautiful chandelier to hang in her children's nautical themed bedroom. It's gorgeous! I decided I wanted to do the same thing, but with a standing lamp. Can you believe this lamp is made out of wax paper? Crazy huh! All I had to buy for this project was wax paper and spray paint. I painted the lamp black. I ironed three sheets of wax paper together at one time. Then I accordion folded the paper and punched out the circles. You can see Susan's blog for pictures of these steps. I decided to use eleven circles for each strand.

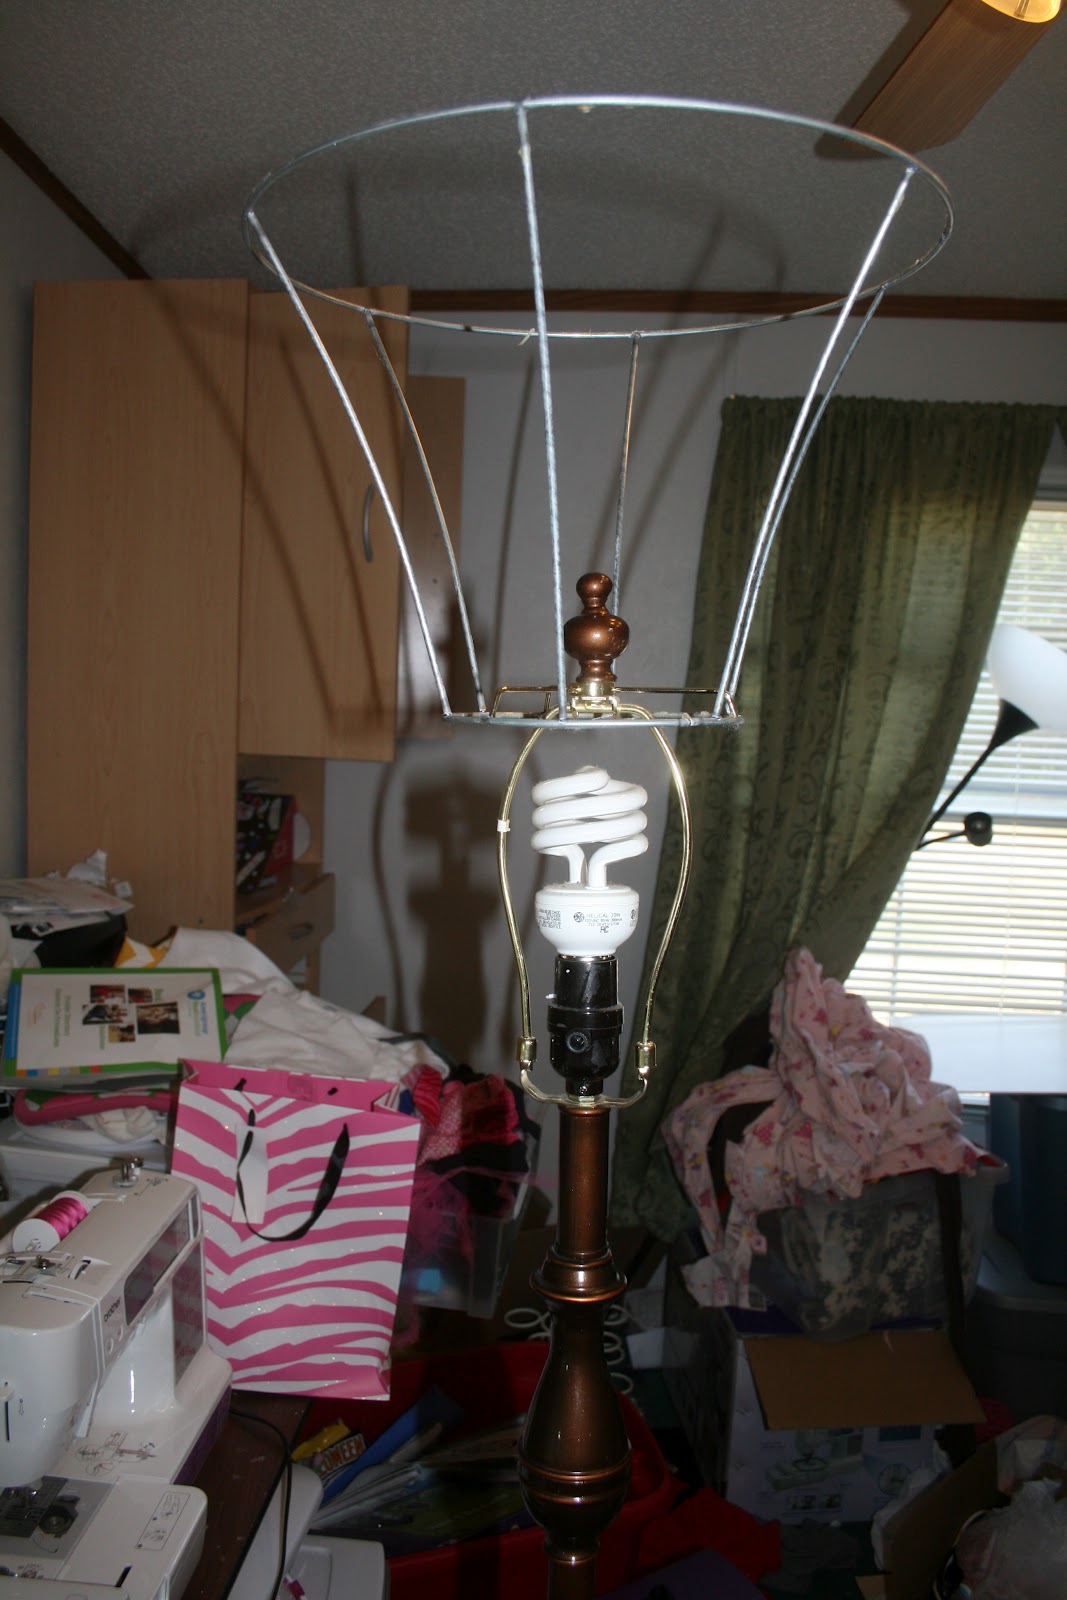
The first thing I did was remove the fabric from my lamp shade and turn it upside down. I later attached a middle row with flower wire. I hot glued it to each metal piece so it wouldn't slide down. (Don't you love the messy background...okay, it's my sewing room and we were about to move. But really it always looked like that. The rest of the house was not such a mess, promise!)
I pulled my thread about 8 inches from my machine before I started sewing the circles together. I just placed one after another, it was really easy. I used the extra thread to double tie the strand to the lamp shade, then I clipped the excess.

 |
| Here is that middle row of wire. |

I hot glued a piece of white bias tape to the top for a more finished look. I also covered the inner wire with bias tape. I should have spray painted the whole frame white first. Oh well.

This last picture is before I added the bias tape. I think it is so beautiful lit up! This project was VERY time consuming. I don't even know how long it took me. There are probably tons of different variations you can make. Even though it took forever it was worth it for me.
Happy Crafting!
Check out where I'm linking up:
ishouldbemoppingthefloor, Sew Can Do, Sumo's Sweet Stuff, C.R.A.F.T., Making The World Cuter,
Vintage Wanna Bee, Not Just a Housewife,
Southern Lovely, My Girlish Whims, Sew Much Ado, The Shabby Creek Cottage,
Some What Simple, House of Hepworths, The 36th Avenue,
Shabby Nest, At The Picket Fence, Redoux,Six Sisters Stuff
Vintage Wanna Bee, Not Just a Housewife,
Southern Lovely, My Girlish Whims, Sew Much Ado, The Shabby Creek Cottage,
Some What Simple, House of Hepworths, The 36th Avenue,
Shabby Nest, At The Picket Fence, Redoux,Six Sisters Stuff
AMAZING!!!!
ReplyDelete