Showing posts with label Sewing. Show all posts

Monday, August 20, 2012

DIY Curtains Made from Shower Curtains


After two curtain exchanges I decided to make my own! I needed matching curtains to put up on the living room and dinning room windows. They are both on the same wall, that's why I needed them to match. I bought panels at Ross and ended up needing three panels instead of two on each window, but there were no more left when I went back. The same thing happened at Marshall's. 
I went to target and found these white shower curtains on sale for $12 each. I bought 4 of them. 
I wanted my curtains to hit the floor so I knew I needed some material to add to the curtains. I needed them to be 20 inches long and they had to be the width of the curtains. I ended up getting 4 yards of gray cotton from Joann's. I had a 50% coupon, so it cost a little under $10. 
I had exactly the right amount of fabric, no extra at all! 
So the first thing I did was fold over the button hole part of the shower curtain and sew it down. I used this to hang the curtains on the rods. I bought my rods for $9.99 each at Ross. 
After I cut my gray fabric I laid it at the bottom of the curtain. I left a little extra on the sides, around 2 inches. Then I pinned it, and sew it to the curtain. 


I am not a fan of sewing huge pieces of material. So instead of hemming the sides and bottom of the gray cotton I used heat n bond! It saved my sanity! And it was so easy! 
This is where that extra 2 inches of material comes in handy. Just follow the heat n bond directions. Iron on the tape, peal it back, fold it over, and iron again. Then you have the perfect hem!
I needed a little over one roll of heat n bond. I made 4 curtains, so if you only have two to make one roll should be enough. 


I think the hem line looks much better than if I would have sewed it. 
I love the finished product!! 
I still wish it would have been cheaper, but it turned out great! 
Here's the run down on the cost: 
2 rods from Ross- $20
4 fabric shower curtains- $50
4 yards of fabric- $10
So around $80 for the finished product. 
I guess it's still better than those $30 a panel curtains though. 


Check out my linky party friends!: 

Thursday, July 12, 2012

Room Reveal- Master Bedroom

  
I finished (mostly finished) our master bedroom. The first thing I did was change the wall color. It was a bluish gray color before. I choose a gray-Hazy Stratus by Valspar. I found this duvet cover at target, you can find it here. I was going to paint gray stripes in the hallway, but that might be too many stripes now. I might eventually do it anyway. I love gray and stripes right now!
 I also painted our side tables white. I spray painted the lamps this great teal color, I bought the spray paint at Wal-Mart. I replaced the beige lamp shades with white ones from Ross. They were only $6 each!! I love Ross, TJ Max, and Marshall's! They have been a life saver decorating our new home. 
I bought this vinyl wall decal at Ross probably 6 months ago, it was also only $6! I thought about putting it on a canvas at our last house, so we could bring it with us. I'm glad I waited to use it.


 The tutorial for this photo frame holder can be found here.

The pillow tutorial can be found here.

I love our new master bedroom! My husband and I are sort of minimalist when it comes to decorating. We like the modern clean look. So now we have a yellow and gray room, and a teal and gray room. I think I'm seeing a pattern here. I was thinking about going with coral and gray, but I thought that would be a little too girly for my husband. This was a pretty inexpensive room makeover, and I am happy with how it turned out.


Check out where I'm linking up:

The Shabby Creek Cottage, Some What Simple, A Glimpse Inside, The 36th Avenue, At The Picket Fence, Southern Lovely, Sew Much Ado, My Girlish Whims, Someday Crafts, Shabby Nest,
Johnny In A Dress, Chic on a Shoestring Decorating, Nap Time Crafters, Craftionary, Six Sisters Stuff,
Sumo's Sweet Stuff, I Should Be Mopping The FLoor, Sew Can Do, The Gilded Hare,
Osie Moats, Hubby Made Me

Wednesday, June 27, 2012

Easiest Pillow Covers


I made two throw pillows for my bed. I found this material at Wal-mart on sale for $2/ yard and $3/ yard. I bought half a yard of each. They were the perfect size for my pillows. I just folded the material over and sewed down both sides. Then I flipped the material the right side out and ironed it. 

Heat n Bond can be found at Joann's and Walmart

I hate hand stitching! So I used Heat n Bond to close the opening. I folded the edges under and ironed the heat n Bond down on one side, then pulled the paper off, folded over the other side, and ironed across the length of the pillow. It was easy and quick! 


This is a super easy and fast way to make pillow covers. It's perfect for these pillows that are just for decoration. This is one of the project I've done for our room makeover. I will be posting a few more projects, and then our room reveal. 


Friday, June 1, 2012

Three Easy Baby Shower Gifts


 I want to share some baby shower gifts I made for my friend a few weeks ago. I finally had my embroidery machine repaired, and I put it to good use! My friend named her baby Anna Grace, cute name huh?! I made her a passy strap from my tutorial found here.
 I embroidered a pair of bloomers, and added ruffles to another pair. You can find the technique I used for making the ruffles in this post. I used the perfect diaper cover tutorial from Made. I love this tutorial! I have made a ton of these for my daughter and for friends. It's a really easy tutorial to follow. I also made my favorite burp cloths. I cut out a piece of cotton fabric and a piece of terry cloth sewed them right sides facing each other (leave a 4 inch opening), then I flipped it inside out and top stitched around the top. They are super easy and a great project for beginners. It's also a great way to use your fabric scraps! 
Happy Sewing!


Check out where I'm Linking Up:


Sumo's Sweet StuffThe Shabby NestOne Artsy Mama


mop it up mondays


Thursday, April 26, 2012

Rolled Hem Fabric Napkins

I went over to my friends house the other day and we had a machine swap. Her sewing machine broke, and she had three unfinished projects. I needed to borrow her serger to make napkins with a rolled hem. So we had a sew date, it was fun!
It was really easy! We measured a standard sized paper napkin, it was 12 inches by 12 inches. I decided to add an inch in case I cut off too much with the serger. So I cut my fabric 13 inches by 13 inches. All I did was serge around the sides. I used some fabric I bought on clearance a while ago from Hobby Lobby. Hopefully now my family will waste less paper. I think they turned out really cute. It's a really easy project, and would make a great house warming or wedding gift.


Check out where I'm linking up here!
Click on the link to see all the linky parties : )

/mop it up mondays


Monday, April 23, 2012

Pacifier Strap Tutorial

I love these cute pacifier straps! I make them as gifts. I usually match them with a burp cloth or onsie. It's a great project to use up your scrap material. All you will need is some material, elastic (flat and skinny, you can also use ribbon), coordinating thread, and a clip. I bought my clips on eBay, I think it was $11 for 25 clips. They were a mixture of 1 inch and 1.5 inch clips. You can also buy them at Hobby Lobby. I made my own pattern for each size. 
1 inch clip- 2 1/4 inch by 7 3/4 inch
1.5 inch clip- 2 3/4 inch by 8 inches
You will need a five inch long piece of elastic.
I cut my pattern piece out of card stock and wrote the size clip on it so I wouldn't forget.
Place your pattern piece on top of your material and cut. I like to use my rotary cuter for this project.
Iron the ends of the rectangle over.
Then do the same with the sides.
Fold over and iron again.
Open up and clip the inside corners at an angle. Clip all four corners. This leaves the material flatter at the corners, and makes it easier to sew. See picture below.
Start sewing about halfway down one end of the strap. When you get to the end insert your elastic. 
Insert both ends of your elastic about 1/2 inch in between the two pieces of material.
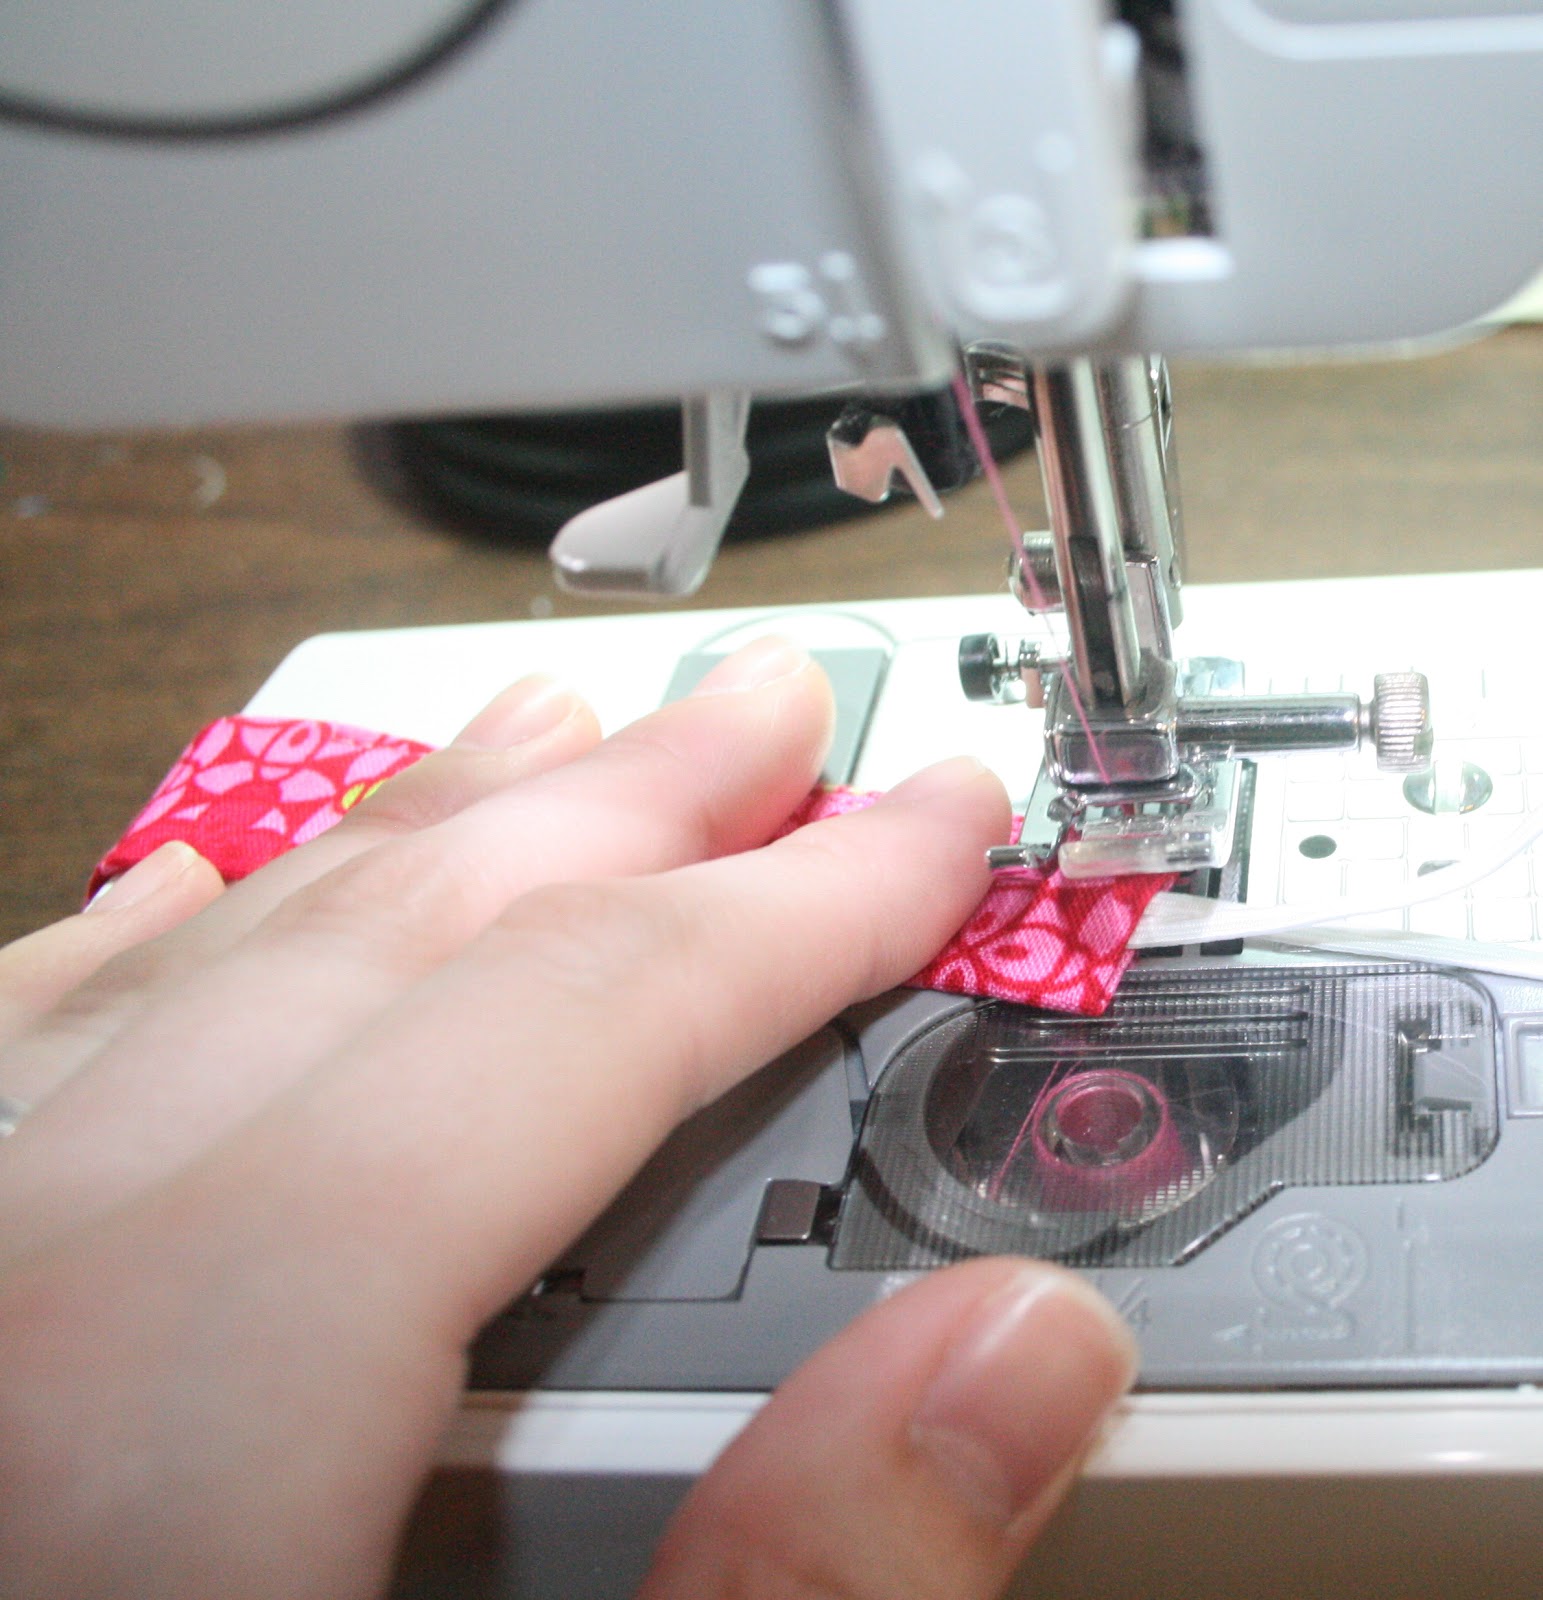
Position the elastic in the center and stitch over the elastic to the end of the material (back stitch a few times).
Then finish stitching around the rest of the strap. Clip threads.
Pick which side of your fabric you want for the front of the strap. Place the strap through the clip and sew and back stitch over a few times. Clip threads.

Your done! An adorable passy strap! Perfect for your baby or a gift!


mop it up mondays Keeping It Simple
”kojodesigns”
 
Sumo's Sweet Stuff
Hubby Made Me”kojodesigns”